The tail lamps installed on my (2009) A’van Cruiser are horrid. They use festoon bulbs, which are totally unreliable. Festoon bulbs rely on feeble spring pressure to stay in place and to deliver the necessary current. If water gets in, the contacts will rust and the lamps will stop working.
I have looked for several years for a suitable replacement using sealed LED lamps, but could find nothing that would fit in the hole (everything was either too big or too small). What I have been looking for is 100mm surface-mount LED lamps. They have to be surface-mount because there is no easy way to get to the other side of the fibreglass panel.
The search came to an end when I discovered 95mm round surface-mounted lamps at LED Autolamps in the UK. A company with the same name exists in Australia but does not seem to carry these lamps. An added benefit of these lamps is that they are sealed (waterproof).
Here’s what I ordered:
- 2 x 95RME Multivolt 95mm Round Stop/Tail Light (about $32 each ex VAT)
- 2 x 95AME Multivolt 95mm Round Indicator Light (about $32 each ex VAT)
- 4 x 95BKT Surface Mount Bracket for 95mm Round Lights (about $6 each ex VAT)
- International airmail postage about $30
The company is very efficient and everything arrived exactly 7 days after I placed my order.
Other materials used:
- Waterproof crimp joiners (Red, 3mm from Super Cheap Auto). These should also be available from Repco or Jaycar.
- Self-tapping 6 or 8-gauge screws about 12mm long, to attach the mounting brackets for the new lamps.
- Silicon sealer.
Tools (in addition to the usual screwdrivers, drills and the like):
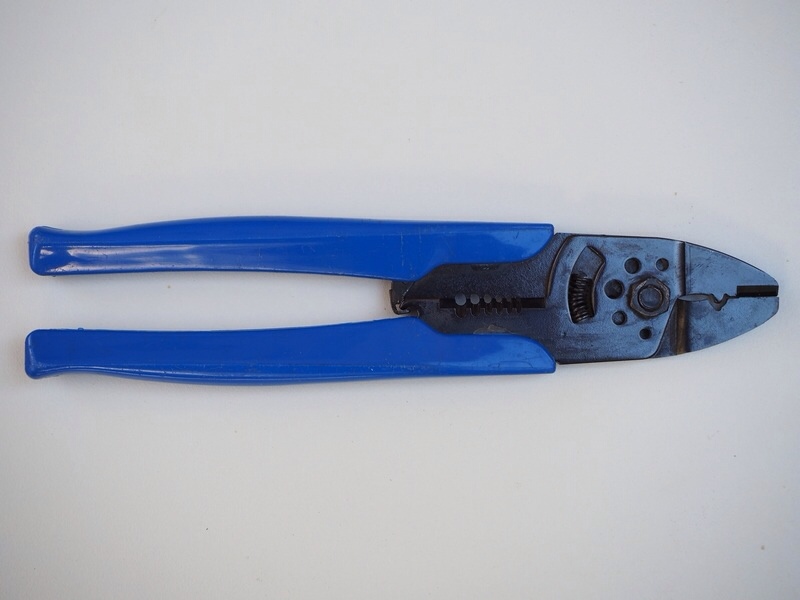
Crimping tool
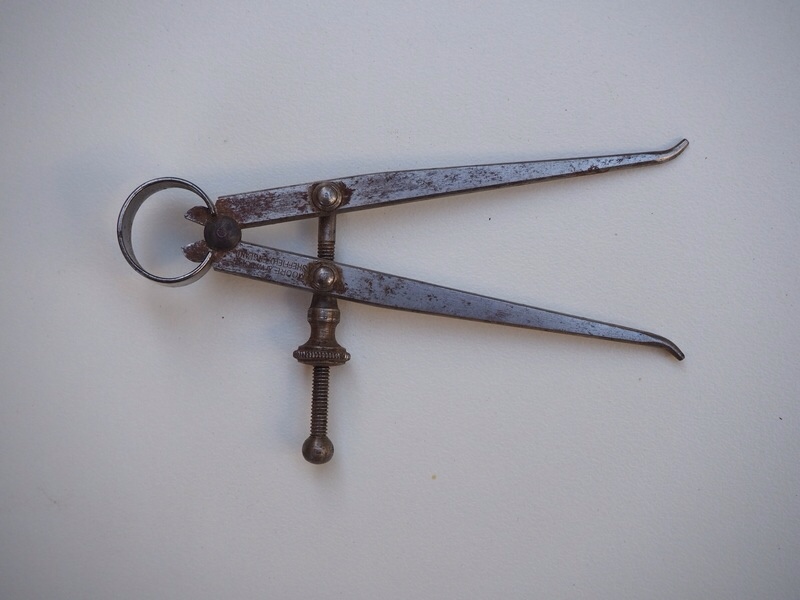
Dividers
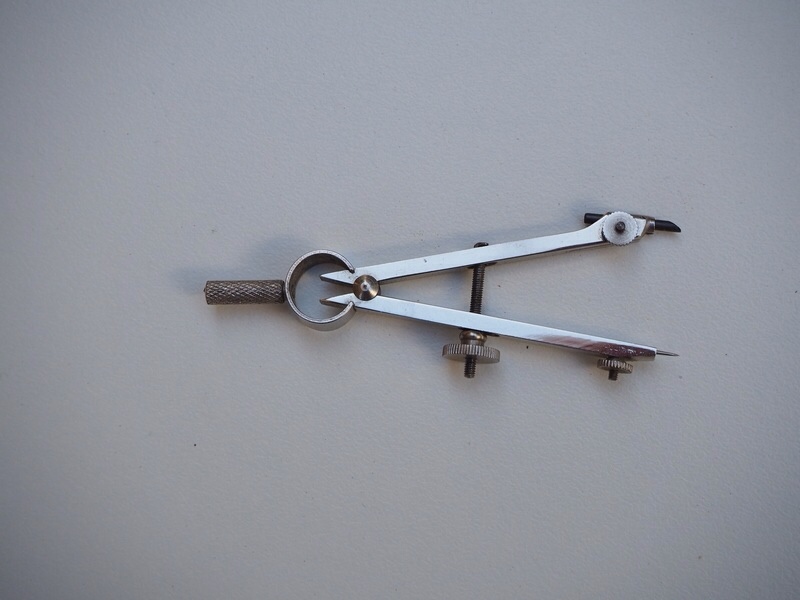
Pair of compasses
Heat gun
- Crimping tool (which should include a wire stripper)
- Dividers
- Pair of compasses (or compass for those born after 1950)
- Heat gun or gas soldering iron (to seal the waterproof crimp joiners). Hair dryer might work.
Remove the old lamps:
- Remove the lens from the old lamp and remove the bulbs.
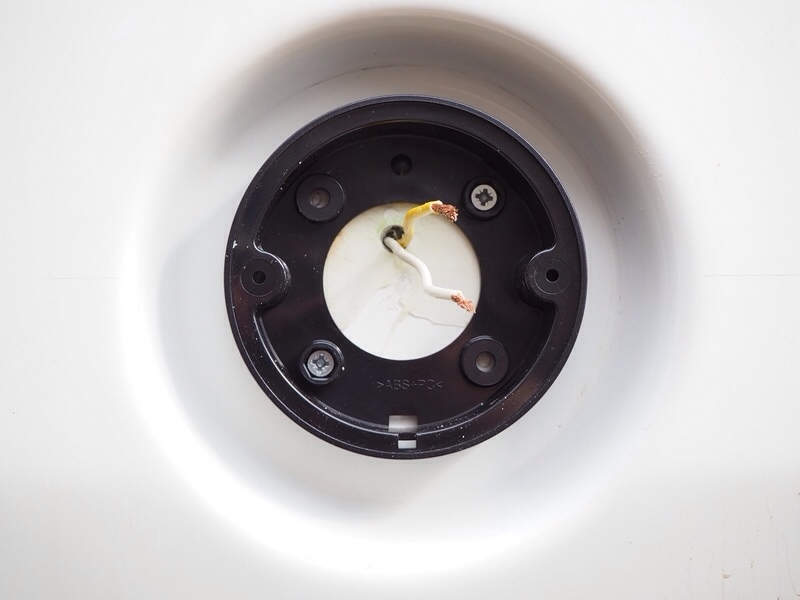
- Snip the wire leads attached to the terminals (don’t bother to unscrew them, it’s better to have freshly stripped wires for crimping). Don’t be tempted to push the leads back behind the fibreglass body of the van, because they will be unbelievably difficult to get back.
- Remove the two screws attaching the chrome bezel to the caravan body.
- The bezel will be stuck to the body with silicon sealant. Use a screwdriver to gently ease the bezel away from the body. Use a piece of cardboard or folded cloth to protect the fibreglass panel from the shaft of the screwdriver.
- Use the blade of the screwdriver to remove remaining silicon sealant from the surface of the caravan panel. Use a thin screwdriver to remove silicon sealant from around and inside the hole in the panel to free the wires so they will be free to be pushed back in at a later step. Don’t push them back in the hole yet! Thoroughly clean the surface of the panel in the tail lamp depression.
- You need to enlarge the hole through which wires protrude because the cable attached to the new lamp will need to be pushed through later and it is too thick to fit. I drilled another hole of a similar size below the original then used a file to join the two and open it out a bit.Take care not to damage the wires.

Removing the bezel
Attach the mounting brackets:
- The next trick will be to find the centre of the circular depression in which the lamps will be installed. In some cases there may be a mark left by the old lamp, but there is no guarantee these were placed centrally in the first place. I used a pair of dividers to draw three arcs of slightly greater radius than the radius of the circular depression. These arcs will intersect at or near the centre of the circle. The arcs will probably form a small triangle; it should be easy to guess from here.
- You can check that you have found the centre: open the dividers to about 63mm (half the diameter of the base of the depression, about 125mm), and swing a circle about the “centre” you have found. It should be a millimetre or two from the edge all the way round. If not, move your “centre”.
- The mounting brackets have a 45mm diameter hole in the centre and a drain hole along the outer edge. The drain hole must be at the bottom when the bracket is mounted.
- I used a pair of compasses to draw a 45mm diameter (22.5mm radius) circle centred on the point found in step 1. Align the 45mm diameter hole in the mounting bracket to the 45mm diameter circle drawn in the circular depression. Ensure the drain hole is at the bottom and the mounting screws for the LED lamp are horizontal. There are 4 mounting holes in the base of the mounting bracket; carefully mark their positions on the panel.
- Drill holes in the panel big enough to take the mounting screws. Screw the mounting bracket to the panel and check that it is aligned correctly (with the drain hole at the bottom).
- If it looks OK remove the bracket and apply a bead of silicon sealant around the base and around the screw holes. Reattach the bracket with the drain hole at the bottom. Remove any excess silicon sealant.
Mounting bracket
Install the new lamps:
- With the exception of the left-hand indicator, the wire colours on the lamps will match those protruding from the holes in the panel. The left-hand indicator hole will have a yellow wire that needs to be attached to the green wire at the back of the new lamp.
- The old stop/tail light has two white (earth) wires. One of these can be snipped off, because it is not needed. The snipped one can probably just safely float around, but I folded mine over and sealed it with a small piece of heat-shrink tubing, just to be certain.
- Strip enough insulation from the wires to allow the conductors to reach the middle of the joiners. If the copper wire has corroded (the strands are black instead of shiny pink) you need to clean them.
- Check that the stripped wire fits the joiners. If the wires coming out of the body are too fat, snip off a few strands until they slide in easily. (The current used by the LED lamps is about 10% of that used by the incandescent lamps, so skinny wire is OK).
- Connect corresponding wires using the crimp joiners. Double-check that you have each wire on the lamp connected to the matching coloured wire coming out of the hole in the body. If you used waterproof joiners then you will need to use a heat gun to shrink the plastic covers on the joiners (the gas soldering iron with the tip removed will do the job).
- Connect the caravan to the car and test the lamps. If all is OK screw the lamps into place. You will need to push most of the cable down the enlarged hole to make this work. You might want to apply some silicon sealant around the cable hole to keep any water out.
- Test the lamps again.
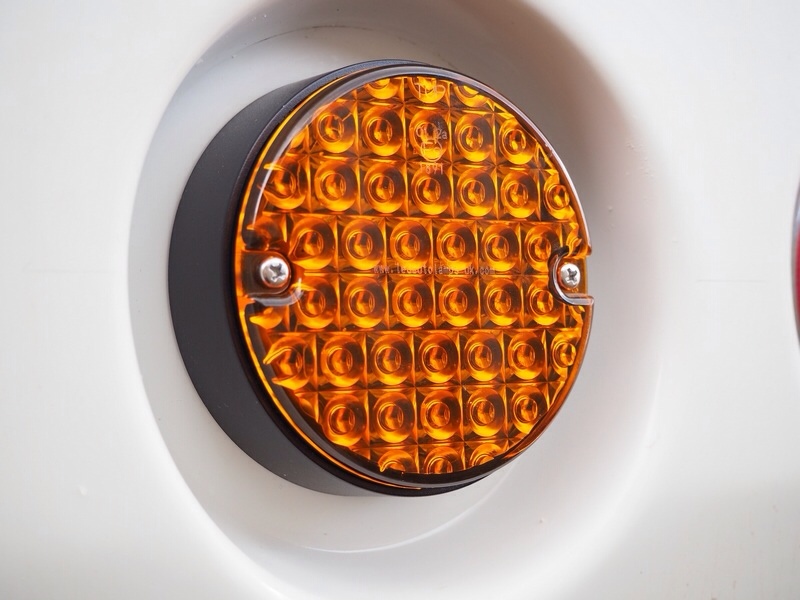
Indicator lamp installed
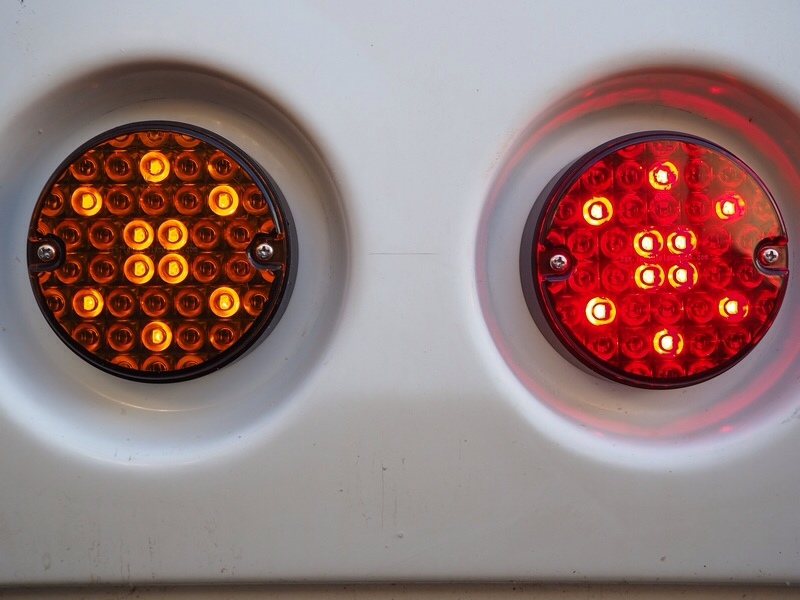
New lamps working

Hi have been investigating replacing the awful festoon lights on my brand new cruiseliner. Found hella make a 110 mm light assembly.. I just don’t understand Avan using such cheap crap. I virtually had to re crimp every joint when I took delivery. There were even fuses missing. All my complaints fell on deaf ears.
Cheers
Thanks Andrew. That looks like the best option for my 2017 Cruiseliner Adventure Plus too.
The lamps mentioned in the original post are no longer available, but the Hella lamps are much better — I have just finished installing them on my 2017 Cruiseliner A+.
The lamps are fairly expensive but I found them here: https://www.autoelecwarehouse.com.au/LED-Rear-Direction-Indicator-Lamp-Black-Base-p/2167.htm for about $125 each. They are bright and have good visibility from the sides.
Should try to do that
Avan now has replacement led tail lights to upgrade at avan spareparts web site 22 bucks each
Got some Craig but a bit wary on how to open the unit. Or do we connect it and glue it in. Typical of Avan not to include any help with instructions. A difficult company to deal with but the van is perfect for my purposes and to own one of these vans is to have some do it yourself skills.
Hi Craig,
Did you fit the Avan-supplied LED lights to your van? I have just purchased them but can not work out how to separate the two parts of each lamp….mounting base and coloured lens.
Clive. The coloured lens just pops off the base. You should see 3 little indents into which you push a small screwdriver and gently lift the lens up. Repeat for the next two.
Hi , it sounds like you have done this with the ones from Avan which i have just purchased, 2 x indicators and 2x brake/tail . I’m confused about the wiring , each of the new ones have a white earth wire where as the old ones have NO earth wire. Any help would be appreciated . Thanks David.
that was very helpfull was wondering how to get the lens off thanks
Is the replacement lenses plug straight in???
I also got the Avan led replacements for indicator & stop/tail lights, and am not sure about the wiring. Did you figure it out David? Thanks
re the Avan Cruiseliner LED rear lights to replace the festoon lights.
The lenses come off easily by prying gently with a small screw driver, and can then snap back on.
Both the indicator and stop/tail lights have three wires: red, black and white.
White: Earth. Red: bright light. Black: not so bright.
The Indicator has orange LEDs and the Stop/tail has red LEDs.
Test/try out by touching on car battery.
On our van:
Indicator: connect white wire to the van’s white earth, and the red to the van’s yellow or green. Ignore the black wire from the LED.
Stop/tail: connect the white to the van’s white earth, the red to the van’s red (Stop) wire and the black to the van’s black or brown (tail) wire.
There are two white earth wires from the van for the old festoon stop/tail lights. Only need to use one.
The wires from the LEDs come from the center of the units while the festoon come in off center, so will need to drill a new hole for wires from the van, Care full not to lose the van’s wire in the back of van.
Don’t forget to do the usual caravan thing, and use enough silicone to seal up and around the holes
Thanks Graham, Your explanation was very helpful and greatly appreciated.
I purchased a set of LED tail lights from Avan as the the old festoon type always gave me trouble on our relatively new Aspire 555. There were no instructions with the parts which is typical for Avan.
These instructions were very useful — thanks! I’ve just replaced the old rear lights on our Avan Cruiseliner with the new LED lights from Avan. It was straightforward. I’ve outlined the installation process (reflecting some of jagg’s guidance) at http://www.kakariki.com.au/miscellania/replacing-the-old-incandescent-rear-lights-on-an-avan-camper-with-led-lights/
Thanks for the information on this post!
It has been most informative and led me through the process of replacing the technologically obsolete rear lights of my 2019 Aliner.
Excellent. Thanks. I have the lights. Not done the job yet but was wondering about what to expect with wiring.
It’s been a while since I did it but I think I just used crimp connectors.